Hey all, i annealed the upper from PET-CF and printed the lower out of PLA PRO, and now i have this part size mismatch. Any recommendations on how to proceed?
Printing mismatche
- Edited
This is probably due to the part not shrinking as much as was expected. The scaling factors used would have been too large. What test samples did you use to determine the shrinkage?
I've attached the test bar I use for the X and Y axis. measuring the OD and ID and then taking the average eliminates most of the errors you encounter when using a simple cube.
https://forum.hoffmantactical.com/assets/files/2024-09-01/1725209174-378773-test-bar-horz.zip
- Edited
Hello, I used a simple cube and a few tensile strength bars (scaled down) because I was being stingy with my filament and thought that it could have been close enough. I see now that getting the test right is better because now that's roughly 30 dollars of filament down the drain. I will start printing the new test right away.
In testing, did you use 2 bars positioned parallel to their respective axis? also would you recommend using the similar bars for the Z axis?
I used a scale of +4.5% for the Z, 3.75% for the y, and 2.5% for the x.
In an effort to maybe save the part, I will anneal the part once again at a higher temp for a few more hours, since the annealing I did do was on the lower end of the recommended temperature range and time.
TLDR for anyone else: run your tests right.
MrSteve Running again at a higher temp won't hurt, and will help illustrate what distortion or warping my arise at those elevated temperatures. I'd take some measurements of the upper first just to get an idea of how much it shrinks.
Shrinkage should not be effected by the actual axis the part is printing on, but rather the orientation and layout of the print lines. For an upper print, I'd print the sample with 100% aligned infill and three walls. You can use that to gauge the absolute shrinkage, as well as the line to line shrinkage by measuring the shrink across the middle of the sample. To save some filament, you can shrink the sample on the Z down to as much as half it's height.
For the Z axis, I'd just print a two inch tall bar.
Why not use your print as if it's your sample? Measure how far off it is and apply that as a second set of scaling factors. Then you don't need to waste more filament printing a new sample.
I have two suggestions to pose here
- assemble the pieces and anneal together?
- use metal ties or a jig to reduce warping and separation? (or even bring them back in line)
The issue with annealing together is that the print orientation is different. The upper will shrink more than the lower because it's length is partly on the Z axis, while the lower is almost entirely on the X or Y axis. The lower will shrink at the absolute ratio while the upper will shrink at a combination with the layer to layer shrink ratio. The upper will start off longer than the lower, and then shrink into place.
hoffmantactical
Thank you for this reply, I'm starting to see how complicated annealing two parts can be for fitment.
Each part will shrink differently based on how the filament is laid in respect to the parts orientation on the bed
hoffmantactical
Hey, just wondering what the Inner diameter and outer diameters would be on the test bar. I printed it face up, and was just wondering where your measurements would be
MrSteve I should have specified! The bar needs to be wrapped into a package with proper docs.
All measurements are taken between the two holes. OD is the distance from the outer edges, and ID the inner edges. These should be 3" and 4", averaging gives the center to center (3.5").
hoffmantactical ah that makes sense. For the distance, do you use the same expansion for both the x and y axis? Since the printing is rectilinear i don’t see why one should shrink more than the other.
- Edited
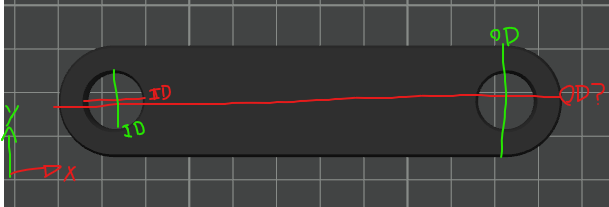
Test bar 1 Shrinkage:
ID: 99.76%
OD: 99.89%
Avg: 99.825%
Z: 98.49%
Long Z test bar Shrinkage:
Z: 99.68%
X: 99.73%
Y: 99.45%
So these are my tests after annealing in an oven at 175 F for 8 hours, and either Pet-Cf really doesn't shrink, or the heat was not high enough. I'll probably end up cranking the heat up tomorrow by roughly 20 F to see if that can get me anything more, because I doubt a .5% shrinkage means that the parts properly annealed.
Should I reprint the test bars or just use the same ones and compare against original values? on the one hand these parts didn't really shrink, but on the other hand even 8 hours in a low temp oven on top of another 8 hours in a higher temp oven can throw the results off enough to matter. I was also thinking using an air fryer or air-crisper on a ninja foodie instead of the oven, since the oven I am currently using does not support air circulation.
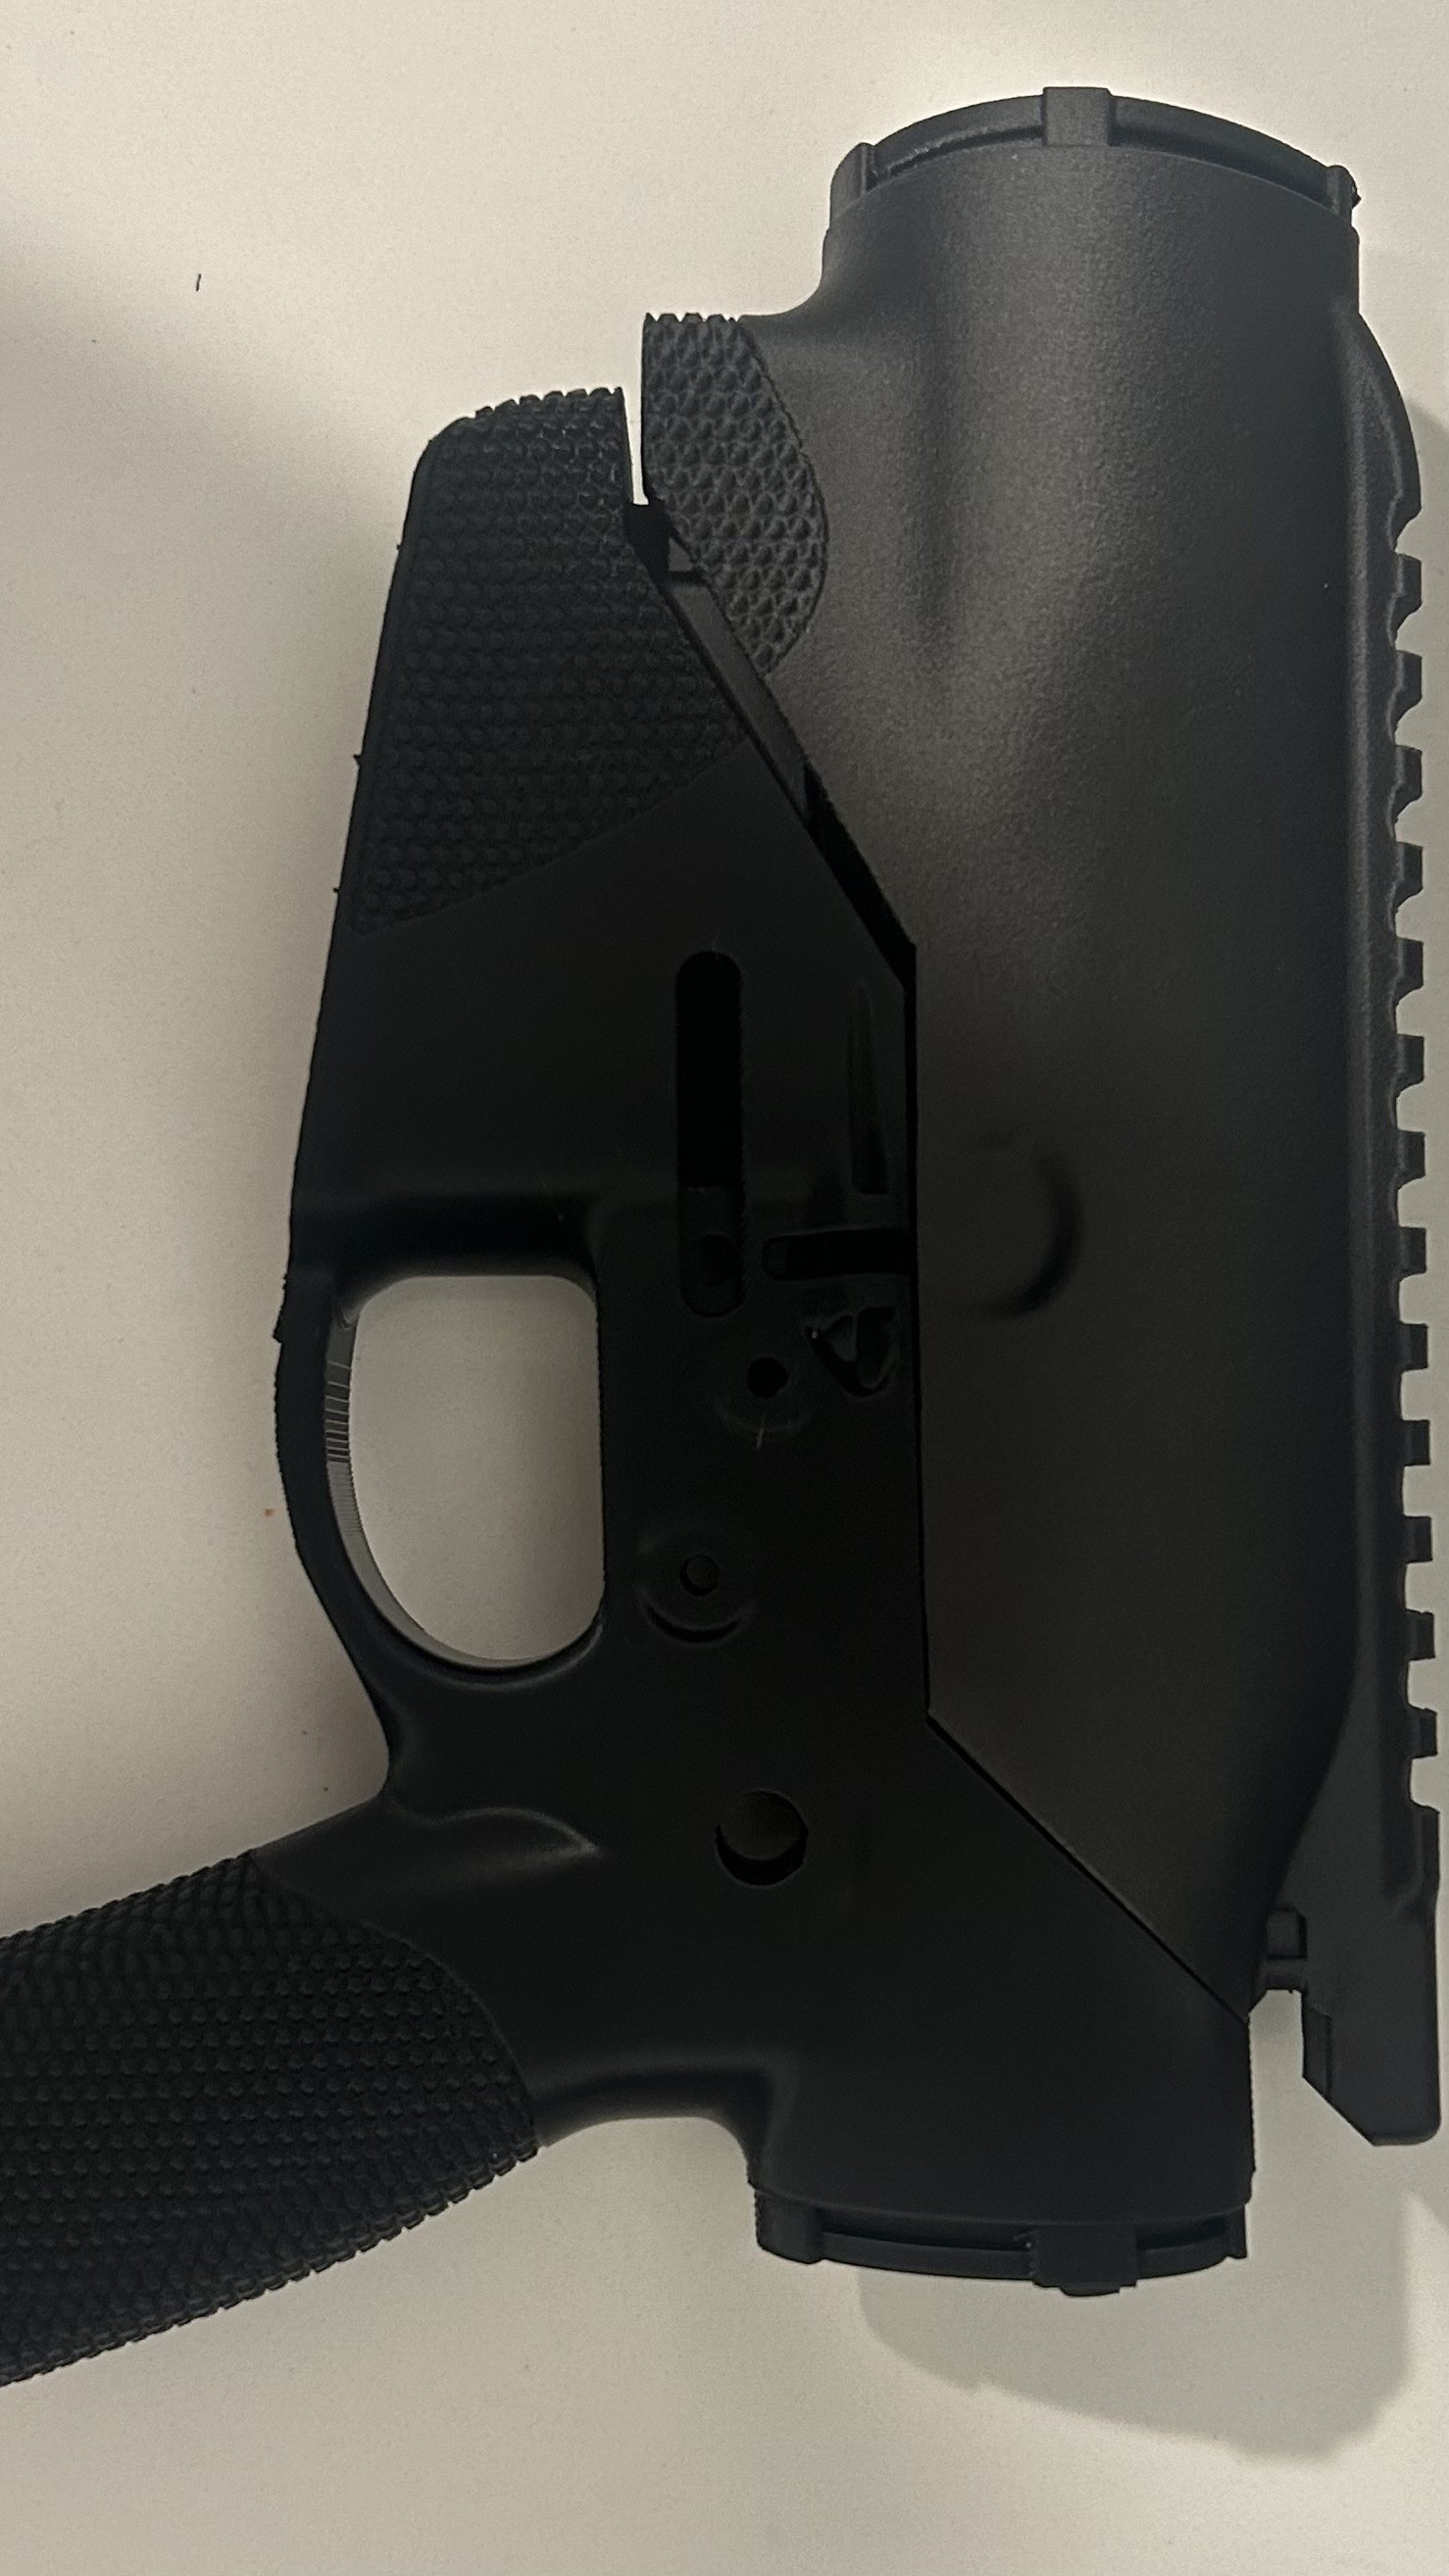
Also the main reason I am going through with all the annealing is that I want this upper and handguard to last for a pretty long time with no melting and minimal plastic deformation, as I plan on installing a super safety and trying to have some fun that.
Opinions on next steps?
MrSteve These are very low shrinkage values. I'm particularly surprised at the low Z axis shrinkage. I would reprint the bar and try the higher temps.
Since the infill is aligned, the shrinkage will be different between the two primary horizontal axis.
Unannealed PET-CF has performed quite well in my testing, so that is probably enough. But annealing is an interesting area non the less. Be sure to save these test bars for a temp resistance test as well.