Hey, a continuation of my other post. I think I may have had some misunderstanding on difference processes of annealing, and am asking what are the methods used to anneal prints? I've seen sand and oil annealing, so I'm assuming I can't just stick the parts in an oven and bake them for a few hours.
Anneling Methods
MrSteve I've settled on open air annealing with nothing but the supports to support the part.
So I started an anneal, for 2.5, 3.76, 4.5% shrinkage in the x,y,and z axis respectively. I annealed in an oven at 215 F and in an hour the supports already began to melt. I used tree supports, and they began to buckle under the weight.
Recommendations for future prints? I will try to use the premade supports for more structure in the supports itself for the next print unless someone else has better recommendations.
Also will not be using tree supports again because the overhangs they were under printed ATROCIOUSLY.
- Edited
Correct me if I'm wrong, but regarding annealing methods for polymers, maintaining temperature in a controllable gradient is more important rather than what medium you do it in. You're just trying to steadily hit the glass transition temperature of the polymer to help the crystalline structure realine, then gradually cooling it back down so it locks into its more aligned form. To my understanding, sand and oil annealing were more of a byproduct of trying to surround the part in a thermal mass that could distribute heat more evenly when early 3D printing enthusiasts were experimenting with kitchen ovens. One benefit I have read in the past about sand however, is it can support the part more evenly reducing uneven sagging or drooping, though I personally haven't tried sand myself.
To put it simply, for most polymers, open-air annealing shouldn't be much different in a well-controlled heat source than sand or oil annealing.
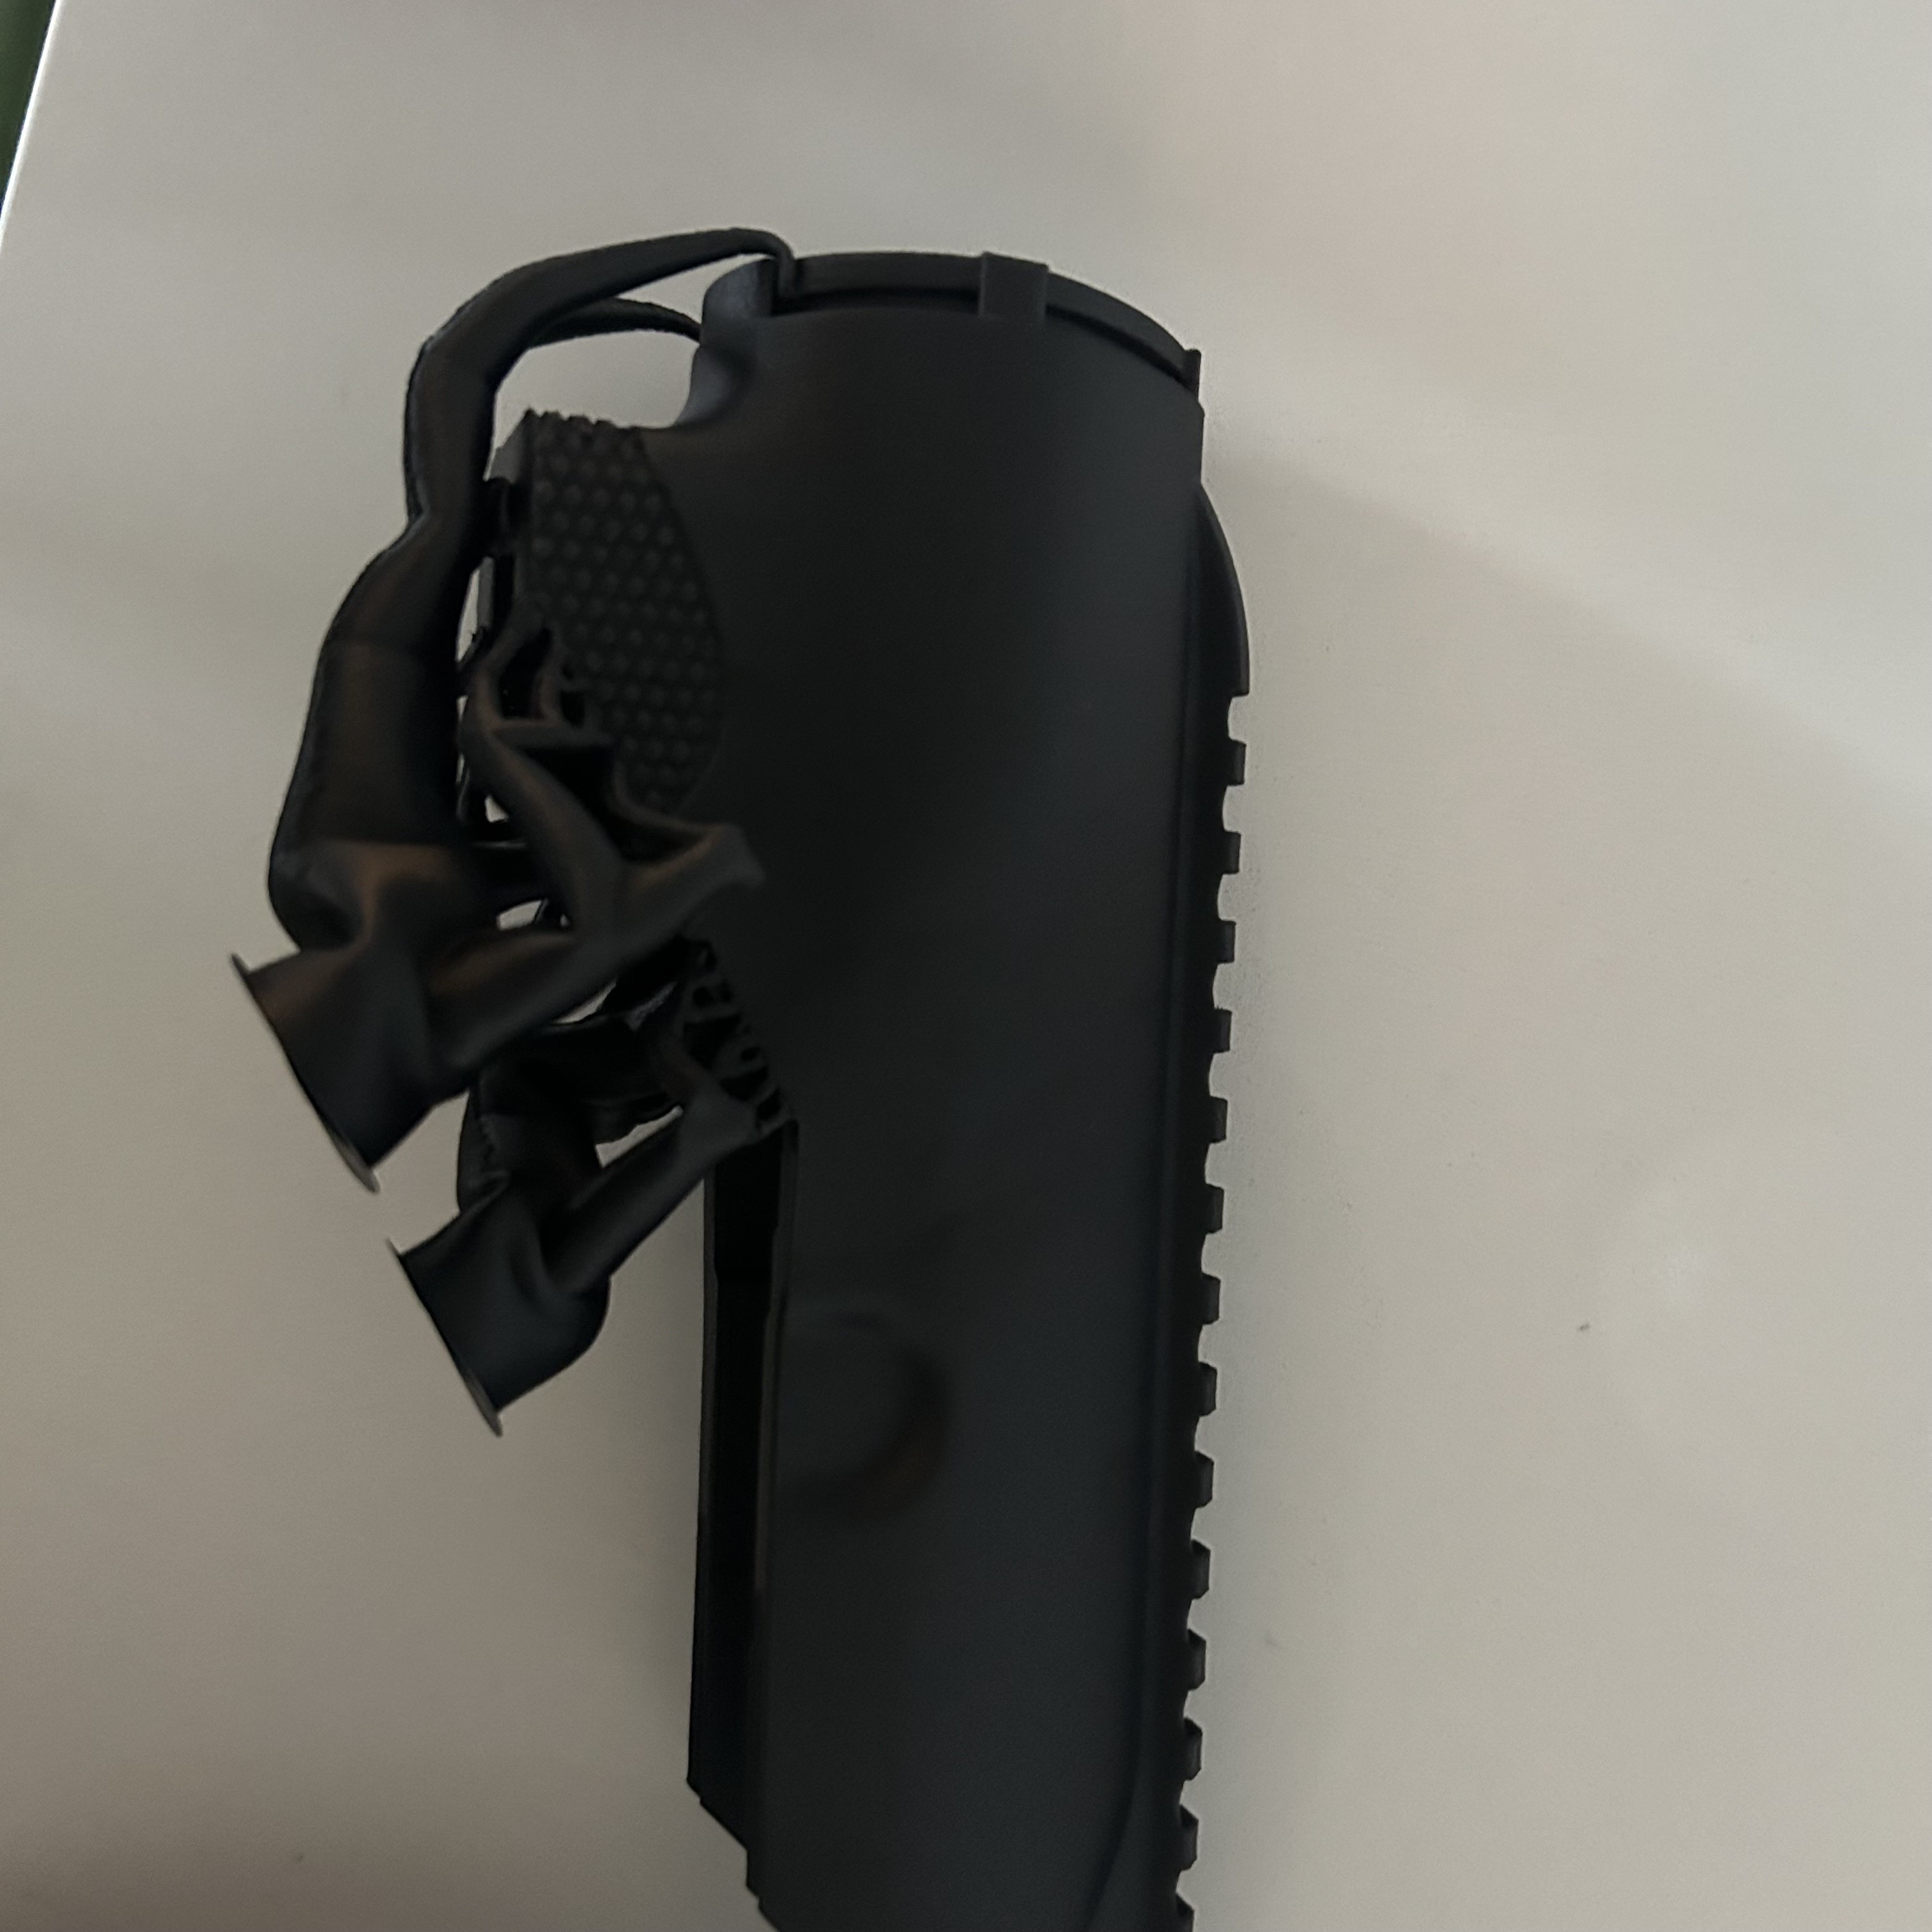
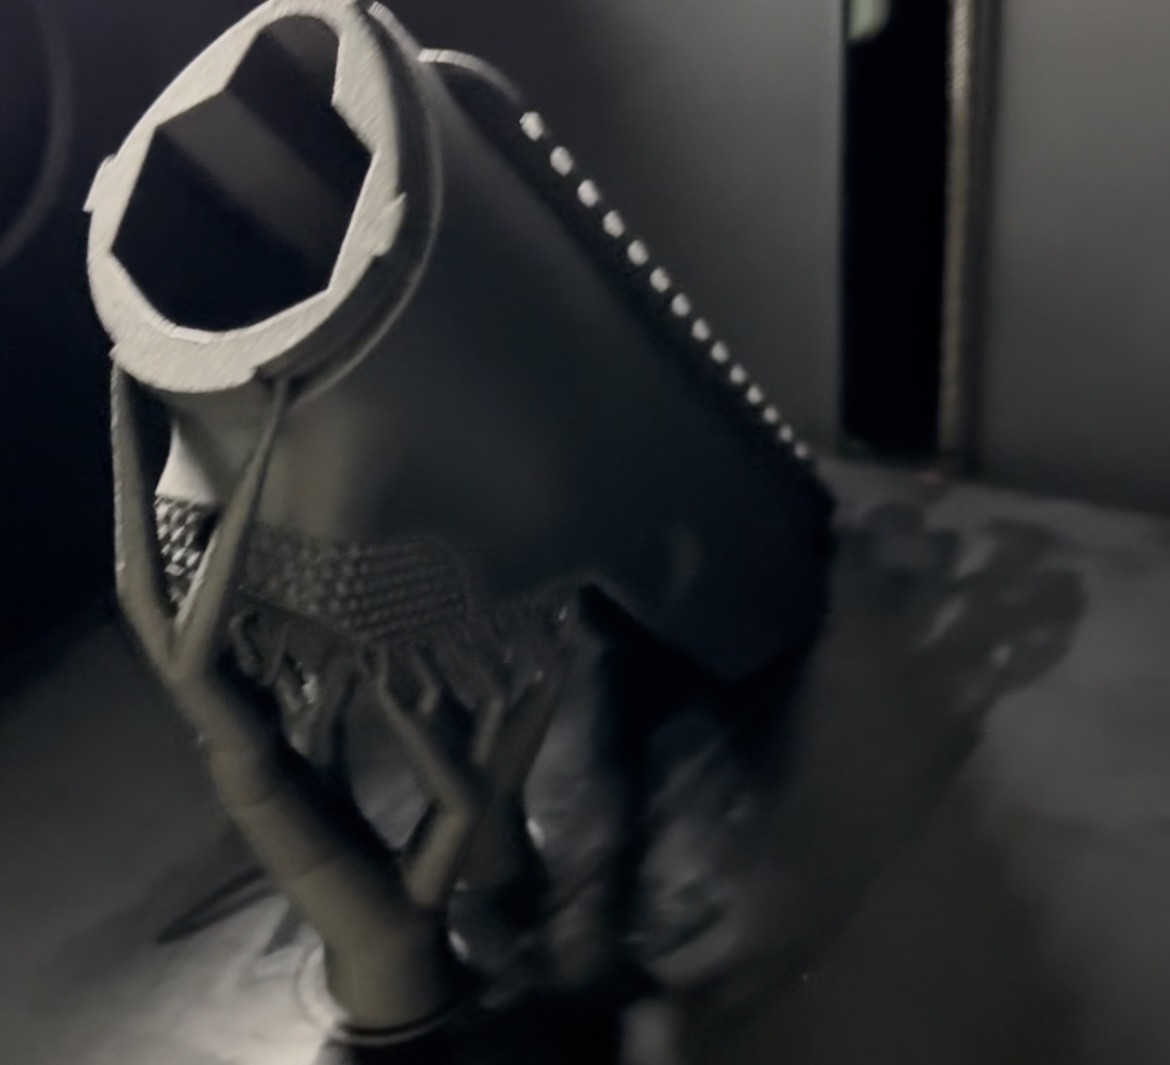
In your case, if you are experiencing melting at the supports, you're already exceeding the glass transition point of the material. I'm assuming you're using an oven?
I don't personally like ovens for annealing but have done a lot of experiments with it in the past. Some tips that could help:
Putting parts dead center of the oven on an elevated rack: Most ovens have a heating element on top and on the bottom. This creates a temperature gradient, where it's hottest closest to the coils. Elevating the part in the oven toward the center as much as possible helps it to hit the more even peak of the gradient from both the top and bottom.
Set the temp lower: The Oven displays incorrect temperatures from the true ambient temp, because it's only reading off of one thermistor, I usually would set the temp a bit lower than what I wanted, and it usually hit closer to the temperature range I wanted.
Measure the part surface temp directly: Use a little multimeter thermistor, or even an IR thermometer and probe or scan the surface of the part directly.
Aim for the minimum glass transition temperature: With oven annealing, I had the most success with hitting the minimum glass transition temperature rather than risking closer towards the melting point.
I’m planning to print and anneal my barrel mounts soon. I still need to research and plan my procedures but I had planned to use baking soda to reduce risk of deforming the part, although I read open air is doable as well…. I could print two sets and try both methods. What are downsides to using a medium like sand or baking soda?
Yukon brings up some good points. If the supports are collapsing, I suspect the temperature is too high, at least during part of the ovens heating cycle.
PistollPeet I guess mainly making a mess, and if open-air works, it would just be an unnecessary step. I don't know how much sand or baking soda helps with reducing sagging, but in theory it should work. Maybe try out with small test prints and experiment with your current oven setup. Curious to see the results!
Hey guys just a quick update for this thread, i was waiting for some calipers that got lost in the mail to do measurements (my last ones sucked). I realize that I misread some portions of the filament sheet and the annealing should be at 75-85 C, which is why my supports began to sag as I did it around 100 C.
I am now re-annealing the part, and I positioned it as best as I could on a cake pan so it sat on the edge to somewhat maintain its print orientation. I took x,y,z measurements with some confidence, but this part is a bit janky to measure on the z so that may be off.
It is now in the oven at 175 F (80 C), and will sit there for 8 hours more. I will update on progress, but honestly I did not notice any real warping from my first go. The only differences i noticed were circular holes becoming more "ovaly" but that may just be due to my excess Y enlargement. Other than that, the part looked completely like it did before I annealed, but I will reply to this with updates after the 2nd round.