Just finished my first sl15 attempt but right away I’m seeing a few problems. Firstly I have some minor layer shift happening around the mag well. Also the magazine well is too short front to back for a mag to slide in at all.
Any suggestions where to start addressing the layer shift?
With the mag fitment would it definitely be over extrusion? Are there other tell tale areas that would show over extrusion(or measurements)? Or should I look into other possible issues?

Print was done to the standard in the documents. 130* rotation with appropriate infill angle, pla pro on stock ender3s1pro with upgraded firmware, extrusion multiplier is at .955 which could be too much still.

Pics to come…

I'll look at the pics when you get them up. A layer shift would definitely cause fitment issues. Over extrusion would as well, but it will be pretty obvious (bulging layer lines, poor surface finish). Scaling issues are the most common.

Do you use shrinkage compensation in your slicer? By my calculations the overall difference is about .6mm smaller than what was called for in the slicer.
I’m having a tough time getting a reference for over or under extrusion. Hopefully it will be obvious in the photos


    Well maybe not a later shift but it’s definitely not looking as good as the rear of the receiver

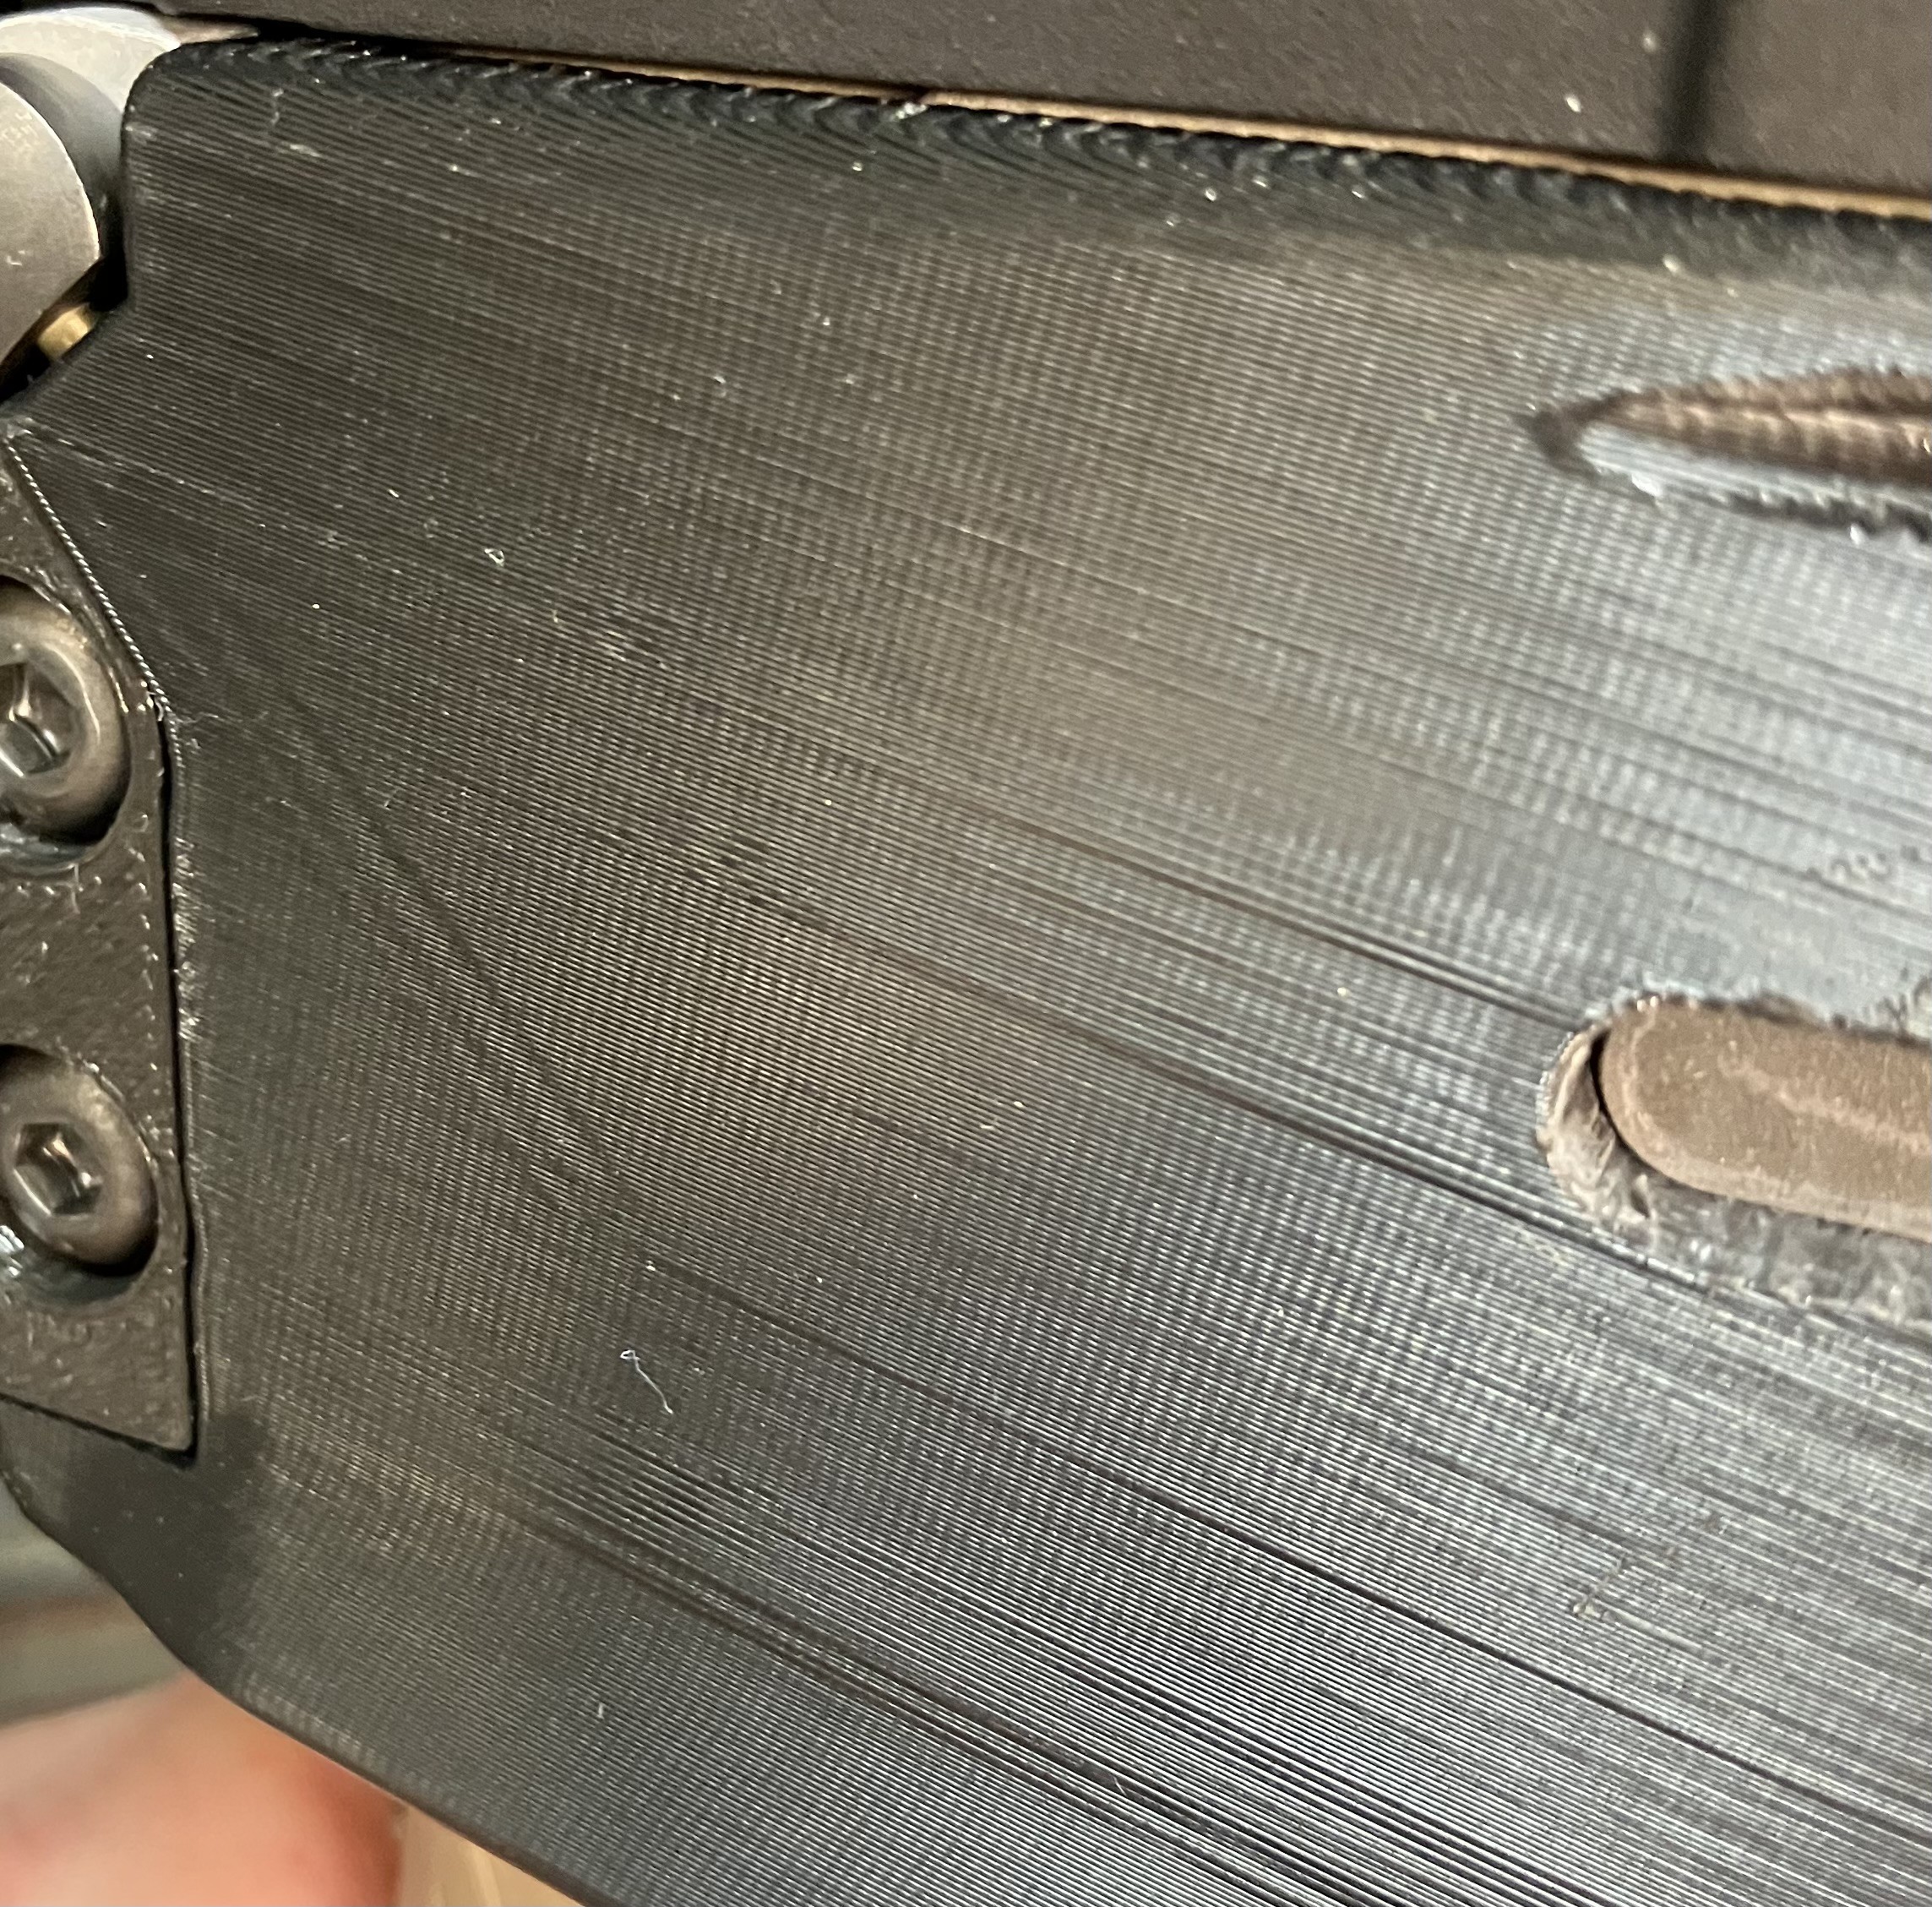
    PistollPeet The print actually looks really good! There appears to be a gap between the front plates and the lower, which does indicate it's too short. Shrinkage is not going to be the issue, rather it is caused by the printers steps / mm being off a bit. Scaling the length of the lower in the slicer is the best fix, aside from calibrating steps / mm.

    When calculating the the error, the take down and swivel pin should be used as a reference. There should be a 0.010" gap between the plates and the lower, anymore than this is due to the lower being too short. If the gap is 0.040", it means that there is an error of 0.040 - 0.010 = 0.030". The pins are 6.25" apart. The error ratio would be 0.030 / 6.25 = 0.0048 or 0.48%. Scaling the length axis (however you have it on the print bed) by 100.5% should fix the issue in this example.

    Thanks that’s great feedback. I was pretty happy with how the overhangs turned out with the supports. The fact I had no other issues with fitment anywhere else made me think it wasn’t over extrusion. I have the model positioned at the 130* mark so I’m not exactly sure how to apply the scaling factor once I calculate it, as far as x/y goes.
    I have looked into steps per mm and my x axis is almost perfect where my z has a small adjustment I could make, I still need to check the y axis. What is acceptable tolerance for these measures? I found the z is about .05 mm over but the x is so close it’s within the calipers range of accuracy .01 or .02 so I’m not sure it’s worth messing with.
    Any way to address the ghosting where I’m seeing the impression of the internal cavities? That is mostly just for appearances

    Outer wall ghosting may be fixed by lowering overall print speed, and or reducing the acceleration and jerk settings.

    2 months later

    HI All with a reach out to Hoffman and Bobloblaw,
    Can you give me some idea on how much to reduce the acceleration? I have all my print speeds lowered to 50mm/s or less but haven't touch the acceleration speeds. My prints vary from being nearly perfect cosmetically to pretty significant cosmetic layer issues with identical settings.

    Thanks

      pigseye I use bed slinging Prusa machines, and set the perimeter acceleration to 500 and infill to 1000 mm/s3.

        9 days later

        hoffmantactical My P1S has ridiculous default acceleration speeds so I'll start with the settings you use on your Prusa to see if that helps. Thanks!

        RETURN TO MAIN WEBSITE LEGAL