Just as an update for those that get here via search, I finally was able to get the 308 to finish correctly, got 2 successful prints in a row now, now I'm just trying to figure out how far I can push it to make the cleanup easier without having it fail in printing
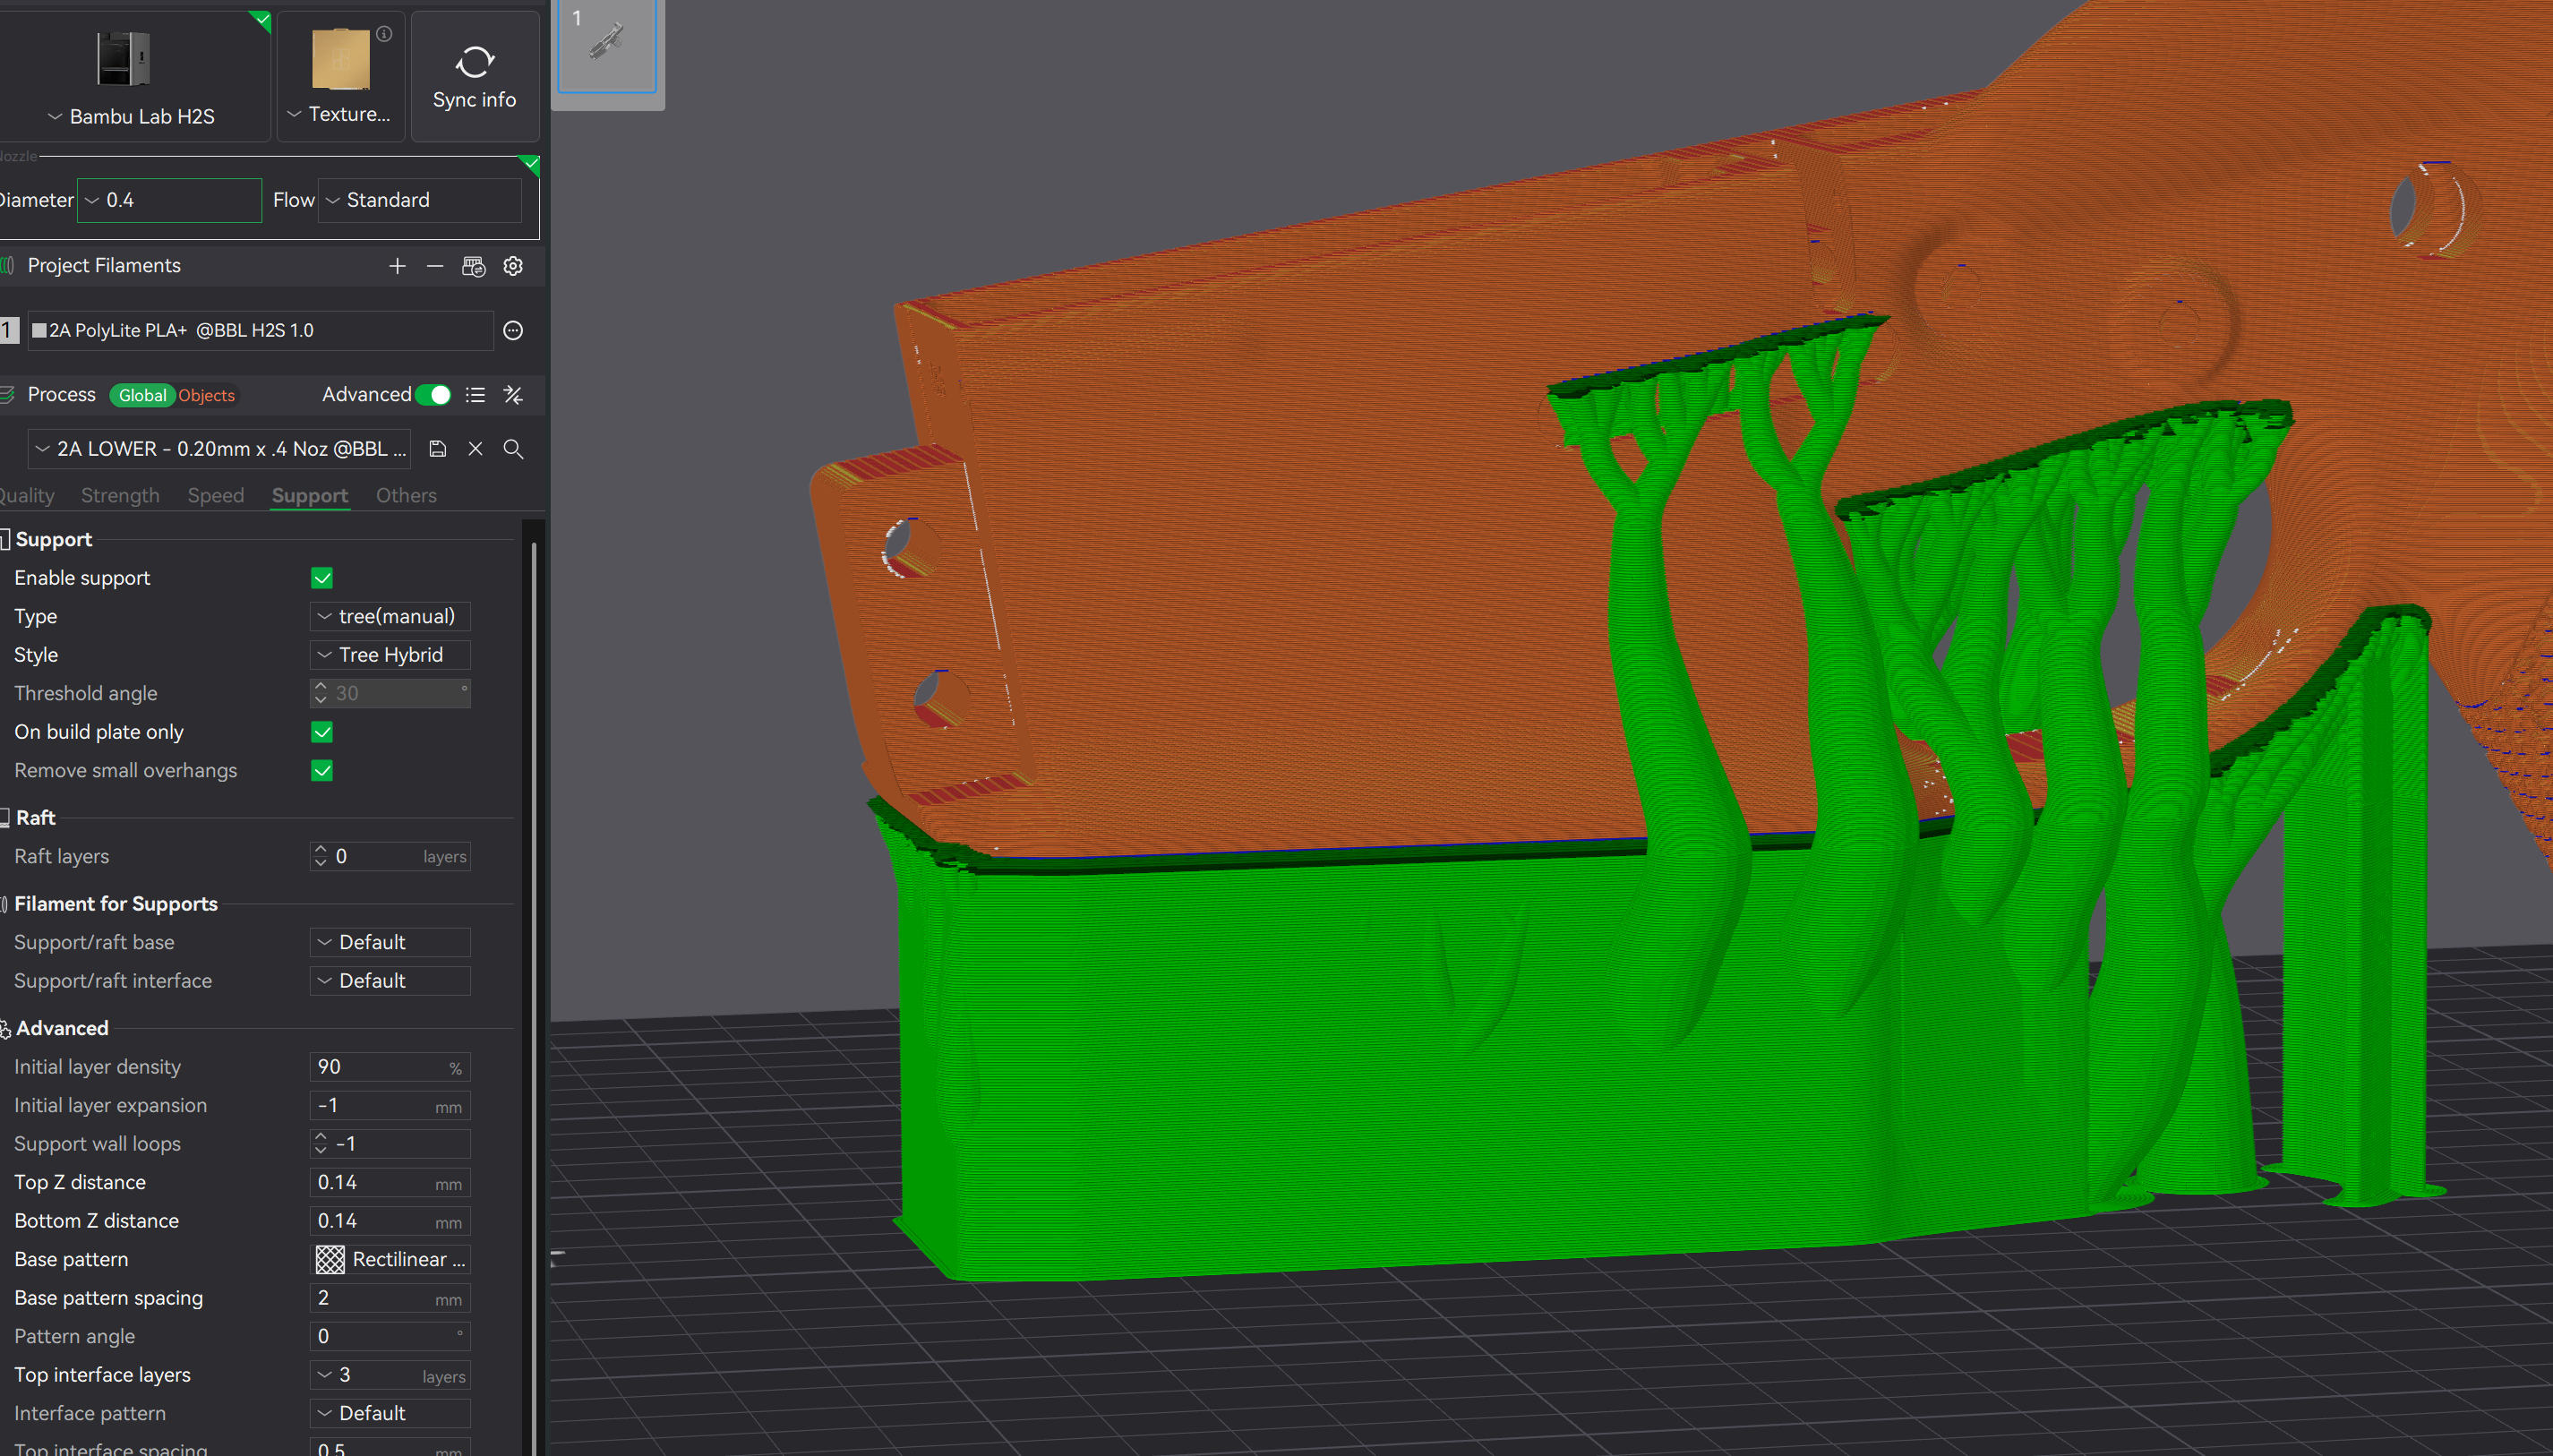
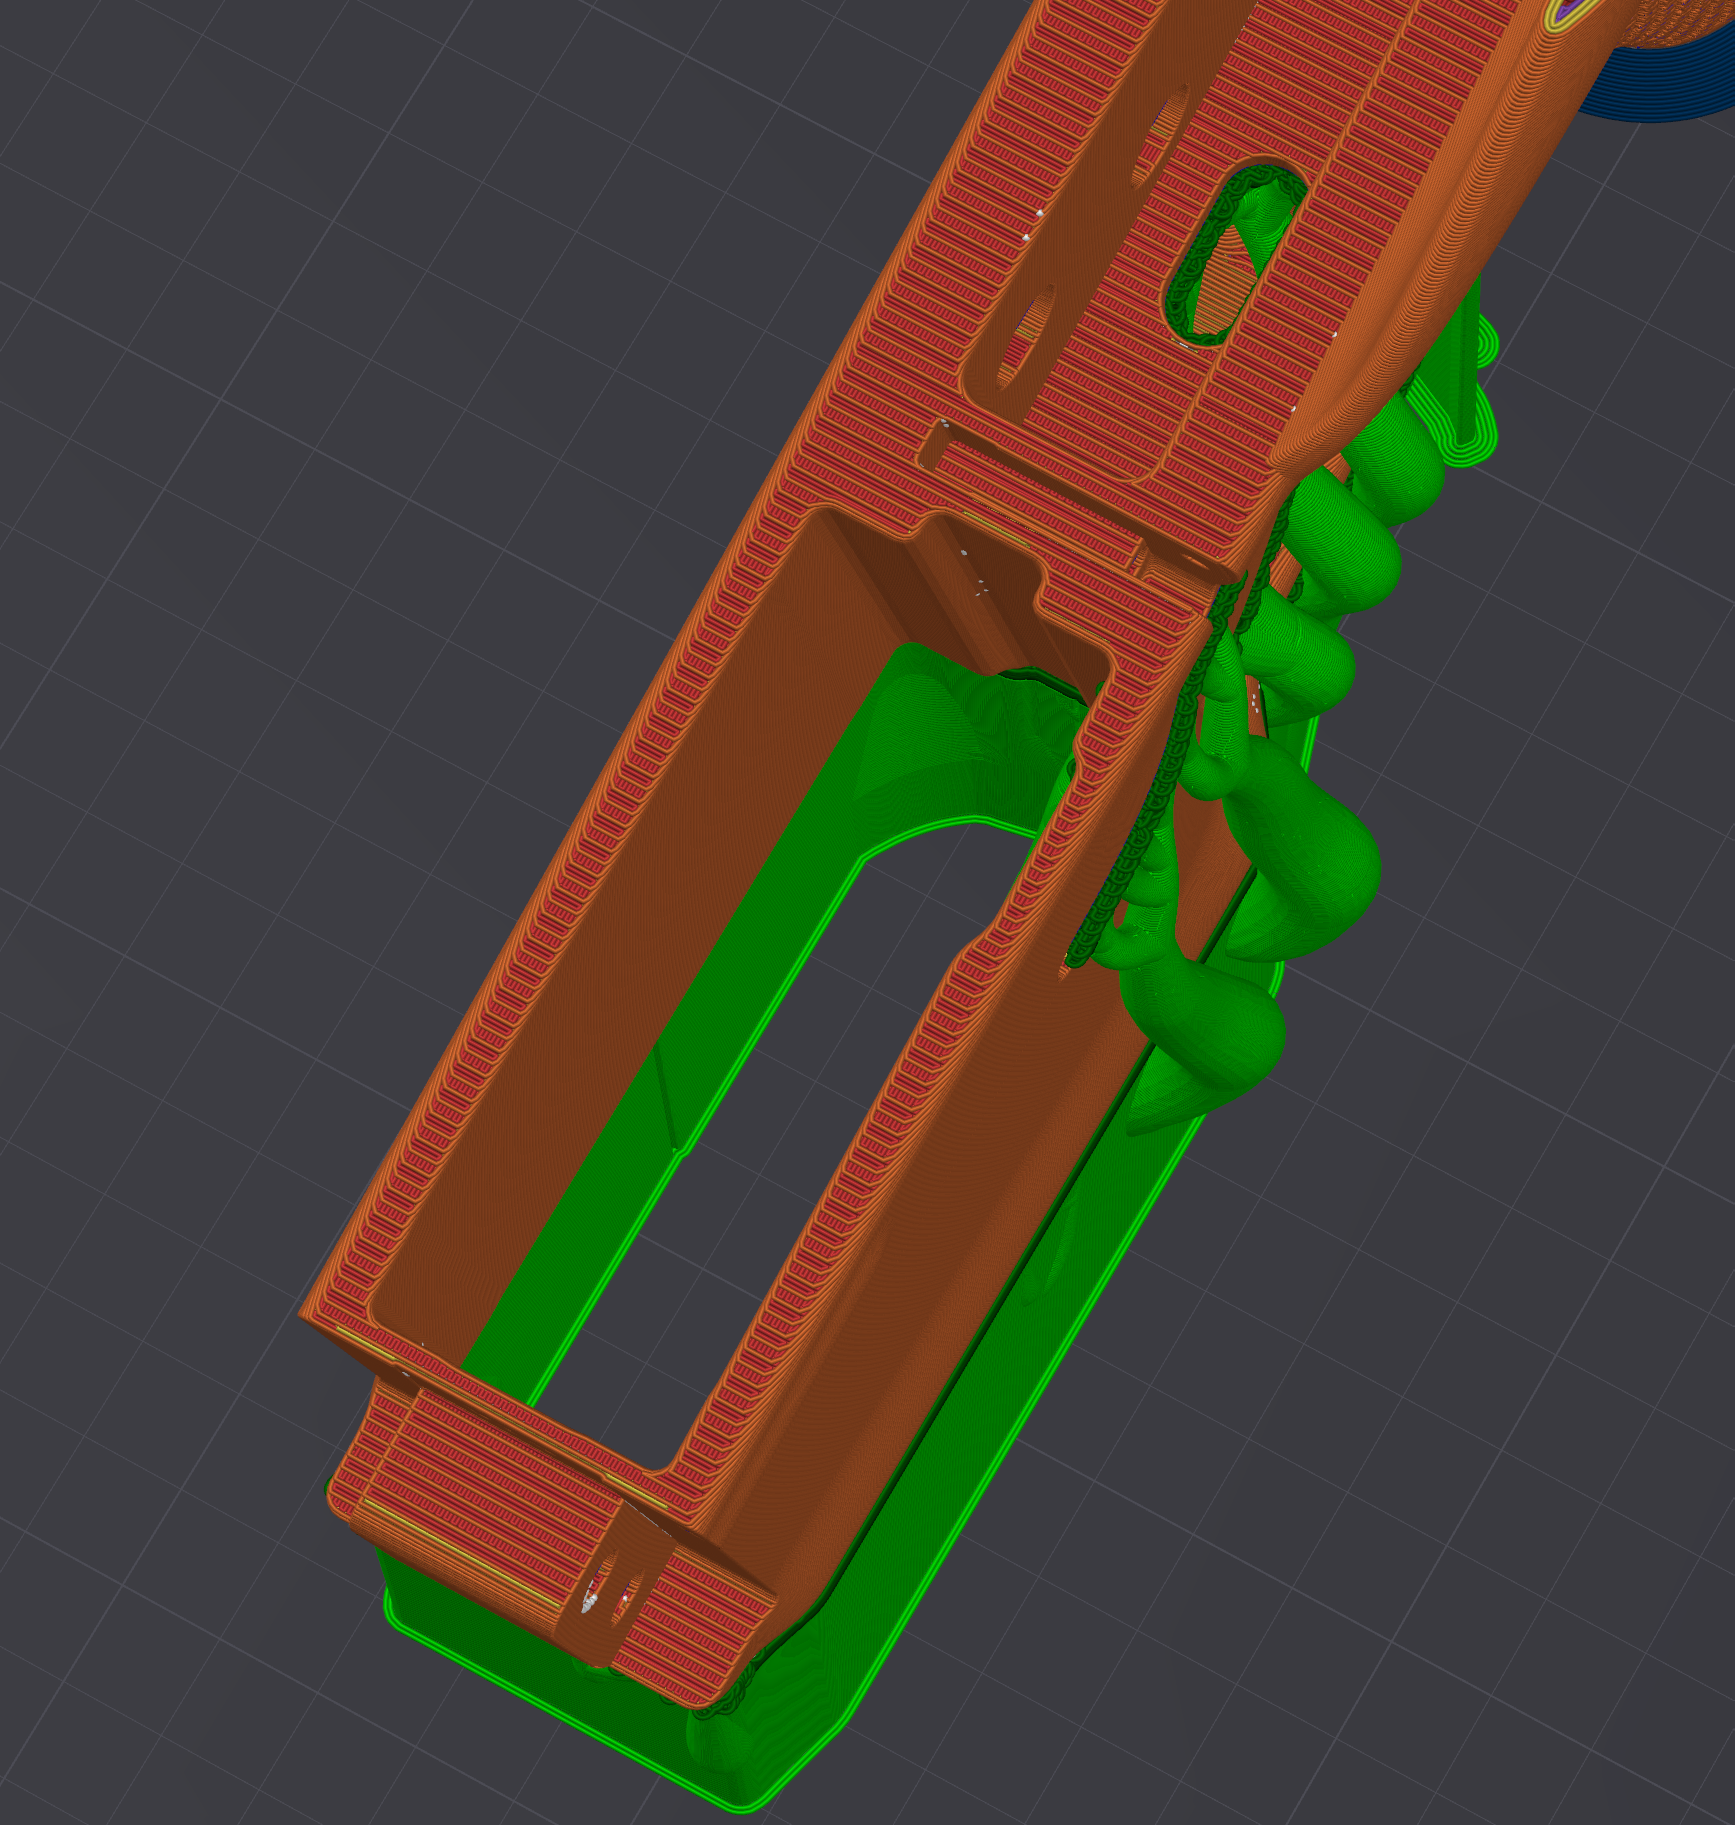
I'm not familiar with that slicer but in Bambu I did something similar to that in theory I guess. First change I did was switch the tree type to tree hybrid, this makes it switch to a "solid" set of supports if it thinks the overhang is too much and use regular trees where it's not as bad. This also has a secondary effect of creating a void inside the model that at least in my mind helps hold heat "in" the model area better and should help to prevent cooling too extreme. Could be placebo but made sense in my head lol
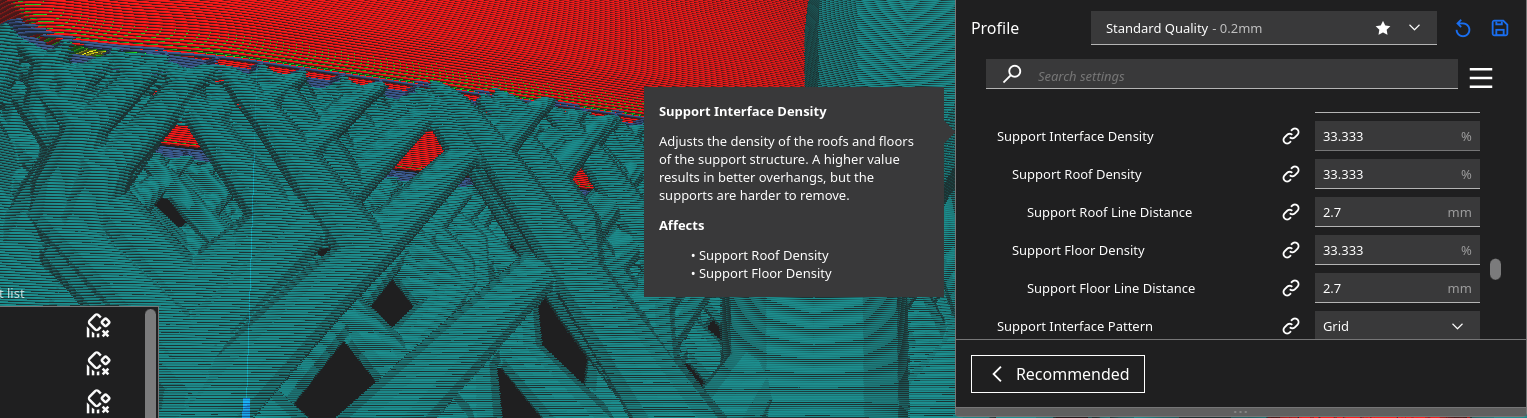
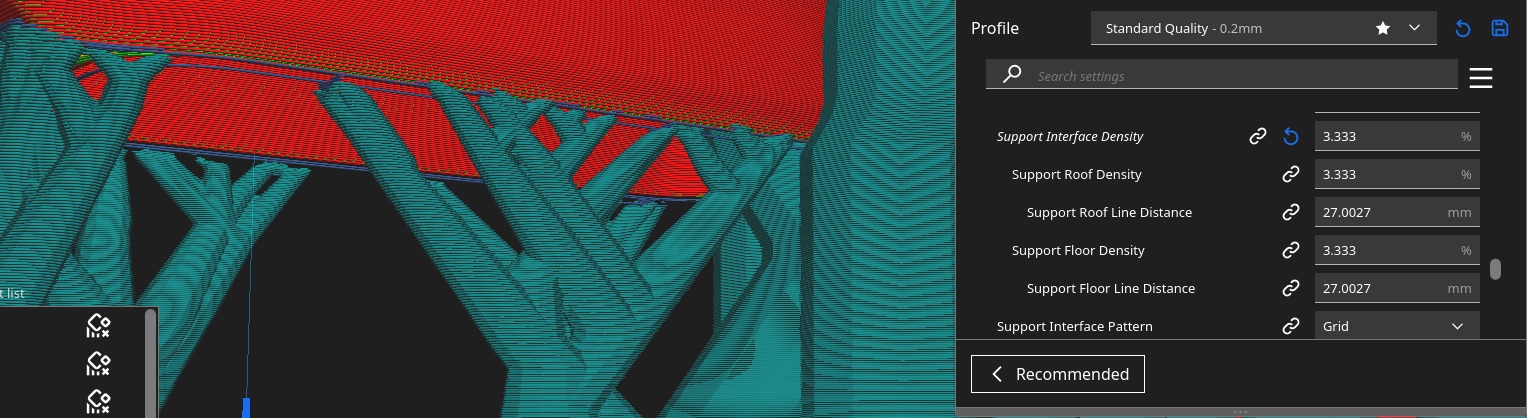
This wasn't enough to seal the deal though, I had to combine this with using 3 interface layers rather than 2 and the big kicker was to change my pattern to Rectilinear grid and then going pretty extreme on the top/bottom z interface settings. The default I think was like .24 or something (on a .2 layer height), I think the guide mentions somewhere (I saw it on the forums too) to switch to .2, but I found that making that even smaller forces the layers together better and solves the magwell adhesion issue at the cost of difficulty of removing the supports.
My first attempt was .1 for both rather than .2. This made the supports kind of hard to get off (although I will say it did make a decent underhang quality compared to normal settings). Took about 15 minutes to clean up with a screwdriver, rubber mallet, and a bit of xacto work and then a quick 5-10 seconds with a sanding block to make it feel better. My second successful print was at .12. This one took only a couple minutes to clean up, same tools, and barely any plucking with the xacto. In my mind this one is perfectly acceptable as I cleaned this one up in like 4 minutes, that's perfectly fine in my mind compared to 7 failed attempts at this model so far lol
I'm currently running a test at .14 to see where that will get me, and depending on how that goes I might try .16 or just live with .14. The 3 interface layers in my mind does make support removal easier as it's a more solid chunk that peels easier, hard to illustrate this but it works.
Currently I'm doing this in an H2S NOT using active chamber heating, 62 on the bed I think and an ambient of 30-31 in the chamber. Using PolyMaker PLA+ or PLAPro, whatever it's called, on a .4 hardened . 220 nozzle temp and regular fan to 75-90%, aux fan all the way off as that always caused that side to peel regardless of how I rotated it. End goal is to take these settings and see if I can nail it on an open air A1 in a cold basement as I feel WAY more people have open air printers then something like an H2S. This does slightly up the filament usage, showing about 330 grams right now, but compared to the 1.5 kilos I've blown on attempts it's fine.
Sorry for the small book but I searched all over the forums looking for info so once I nail it down I'm going to put all my findings together so others can find them too